

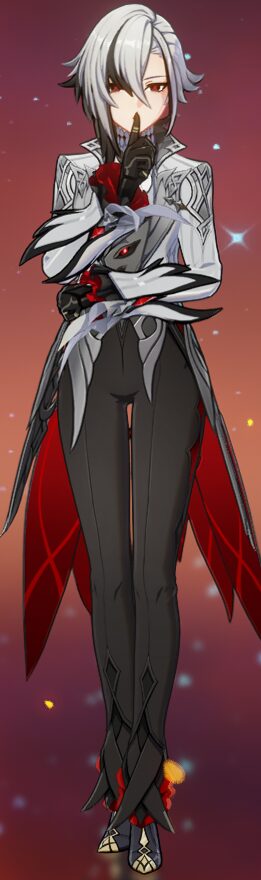
On April 24, Genshin Impact released Version 4.6 with the banner characters, Lyney and the newly released character Arlecchino, whom the community has been waiting for to be released since 2022. Arlecchino, also known as “The Knave,” is the fourth out of the 11 Fatui Harbingers. She currently runs the espionage group: “The House of the Hearth,” addressed to as “Father” by members. Pre-released, she was compared to Hu-Tao, both being Pyro, Polearm wielding, D.P.S. characters. However now that she has released, she has completely blown the whole “Meta” of the game over its head. Now let us dive in and see just why exactly she has changed the Meta so drastically!
Kit Overview
Her role on a team is majorly meant to fulfill the role of a main D.P.S., taking up the majority of field time compared to supports and healers. Her skills show these stats:
Normal Attack – Invitation to Beheading
- Normal Attack
Performs up to six consecutive spear strikes. - Charged Attack
Consumes a certain amount of Stamina, dashing towards a nearby opponent and performing a cleaving attack once.
Continuously holding this button will cause Arlecchino to consume Stamina and engage in up to 5s of faster movement speed.
- Masque of the Red Death
A key part of Arlecchino’s kit is her bond of life mechanic. When Arlecchino has a Bond of Life equal to or greater than 30% of her Max H.P., she will enter the “Masque of the Red Death” state, where her Normal, Charged, and Plunging-Attacks will be converted to deal Pyro D.M.G. based on the percentage of Bond of Life she has multiplied by her attack value. This infusion can not be overridden by other characters’ skills.
Each attack performed will consume 7.5% of said current Bond of Life. If an enemy is hit by her buffed normal attack, her Elemental skill’s (All is Ash) cooldown will be reduced by 0.8s.

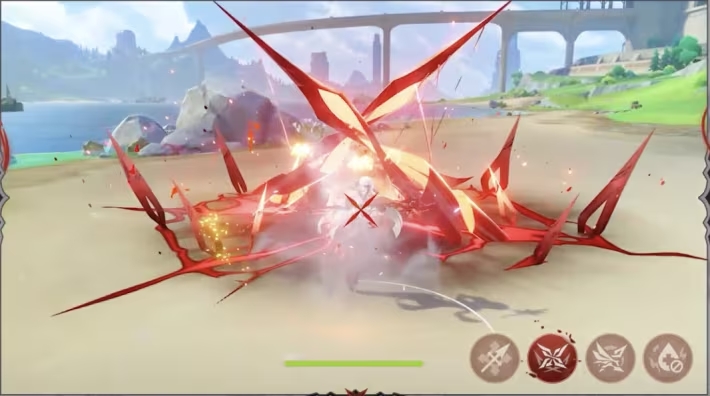
Elemental Skill – All is Ash
Arlecchino summons Balemoon Bloodfire (four small red spikes) which deals Pyro damage to a surrounding Area of Effect, then dashes forward summoning 2 large spikes of Bloodfire dealing another instance of Pyro Damage. Opponents hit by this skill will be given a “Blood Debt Directive.”
Blood-Debt Directive
This state lasts for 30 seconds on enemies, and every five seconds deal an instance of Pyro Damage.
As mentioned in the Normal Attack section, when Arlecchino uses a Charged Attack, she will absorb and clear enemies’ Blood Debt Directives. Each Blood Bond consumed will grant her a Bond of Life equal to 65% of her Maximum Health. Each use of Elemental skill can only gain a Bond of Life equal to 145% of her Maximum Health, however using this skill again will reset the maximum.
Elemental Burst – Balemoon Rising
- Great wings of Balemoon Bloodfire beat, granting Arlecchino a Bond of Life worth 15% of her Max H.P. and dealing A.o.E. Pyro D.M.G. All Bond of Life is then converted to self-healing and the cooldown of Elemental Skill (All is Ash) is reset to zero.

provided by Hoyoverse
Passive Abilities
First Ascension Passive – Agony Alone may be Repaid
- 5s after a Directive is applied, it will be upgraded to a Blood-Debt Due. When absorbed, it will instead grant Arlecchino a Bond of Life worth 130%. When enemies are killed still with Blood Debt Directive or Due, their Bond of Life will be automatically absorbed.
Second Ascension Passive – Strength Alone Can Defend
- Arlecchino gains 1% of Elemental and Physical damage resistance for every 100 attack value she has, which has to exceed 1,000 Attack before it counts, as well as a maximum being set at 20%.
Third Ascension Passive – The Balemoon Alone May Know
- Arlecchino can only be healed through the use of Balemoon Rising (no outside healing). However, to counteract this, when in combat, Arlecchino gains a 40% Pyro Damage increase.
Analysis
 Arlecchino fulfills the role of a main D.P.S., taking the majority of team field time. Her kit revolves around her elemental skill, which buffs her normal attack, allowing damage that we have never seen before without needing any other reactions. Her pros to using her are the massive damage you can deal without needing any other supports.
However, the main issue with her is the fact that she can’t heal herself. She is completely reliant on her ultimate for healing herself, leaving herself completely vulnerable. Arlecchino fits the archetype as a glass cannon, being able to deal massive damage, but being knocked down easily by incoming enemy attacks. For those who struggle with keyframe dodging incoming enemy attacks, it is highly recommended to use a shielder like Zhongli.
Building her
Artifacts:
- Her best artifact set is Fragment of Harmonic Whimsy:
-
- It increases her overall damage, the two-piece buff providing her a +18% Attack. Additionally, her four-piece buff allows for when her Bond of Life increases or decreases to let her gain an 18% increase to personal damage for six seconds, being able to be stacked three times. This buff will be active almost whenever she is in combat due to the fact her gameplay relies on gaining a bond of life.

2. Her close second-best artifact set is Gladiator’s Finale:
-
- Similarly to Harmonic Whimsy, the two-piece set provides a +18% attack bonus. However, with the four-piece set, she gains an additional 35% normal attack damage.

Weapon Options
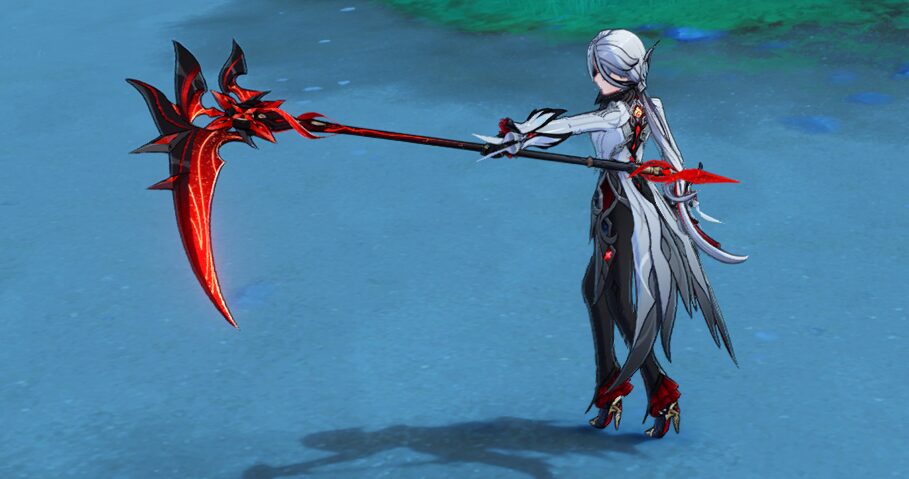
- Arlecchino’s best weapon option is Crimson Moon’s Semblance. This weapon is designed for her, granting a Bond of Life equal to 25% of Max H.P. when a Charged Attack hits an opponent. This effect can be triggered up to once every 14 seconds. In addition, when the equipping character has a Bond of Life, they gain a 12% D.M.G. Bonus; if the value of the Bond of Life is greater than or equal to 30% of Max H.P., then gain an additional 24% D.M.G. Bonus. Additionally, when this weapon is equipped to Arlecchino specifically, it turns into a scythe which looks very cool!

2. Another viable option is utilizing the White Tassel, a free-to-play polearm that is accessible to all players at any state of the game. The base attack is low but the crit rate sub-stat it provides is excellent (23.4% at level 90). Since it is a three-star weapon, refining it to five is relatively easy and the normal attack damage at R5 is increased significantly by 48%.

Conclusion
Although Arlecchino’s survivability is all around low, struggling to keep herself alive without a shielder, the amount of damage she can deal is the most impressive we have seen in the whole game.
“Attack is the secret of defense; defense is the planning of an attack.” – Sun Tzu
Unlike supports, she is very limited in team composition, but her damage is worth the limitations. With her banner coming to an end soon there isn’t much time to wish for her, but if her gameplay interests you I highly recommend you save your primogems to get her in the future. However, the most important thing of all when playing a game like Genshin is to take breaks. It’s easy to get distracted by playing video games, and it is very important not to let games distract you from your academic and social life.
“OSMANTHIS WINE TASTES THE SAME AS I REMEMBER… BUT WHERE ARE THOSE WHO SHARE THE MEMORY?” -REX LAPIS